Share:
Creating Action Items
Documentation of isLucid is made to support you. Any new thing can be confusing. What is natural for us, does not necessary is understandable for everybody else in the world. So we encourage you to ask for help, clarifications and assistance if anything is unclear
On this page, you will find quick walk-through information helping you to create action buttons in isLucid Application. During this process you will:
- Steps in creating actions items in isLucid
- How to edit action items

Changing language

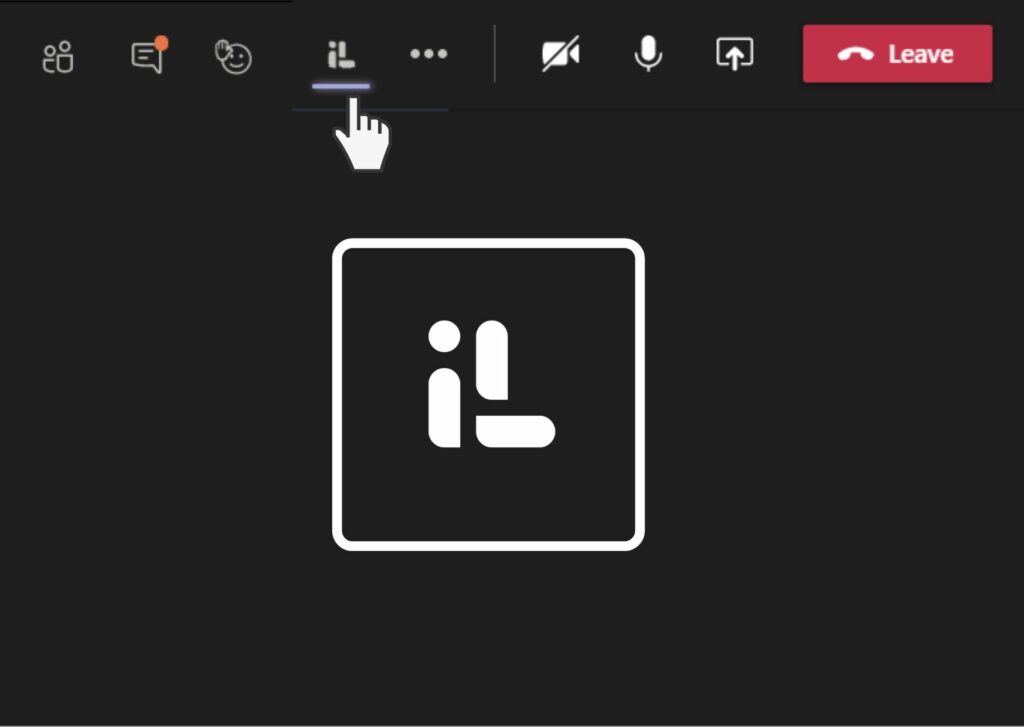
Open isLucid during a call
On the call open isLucid (in the side panel of a meeting or the full application on the left side of Microsoft Teams)
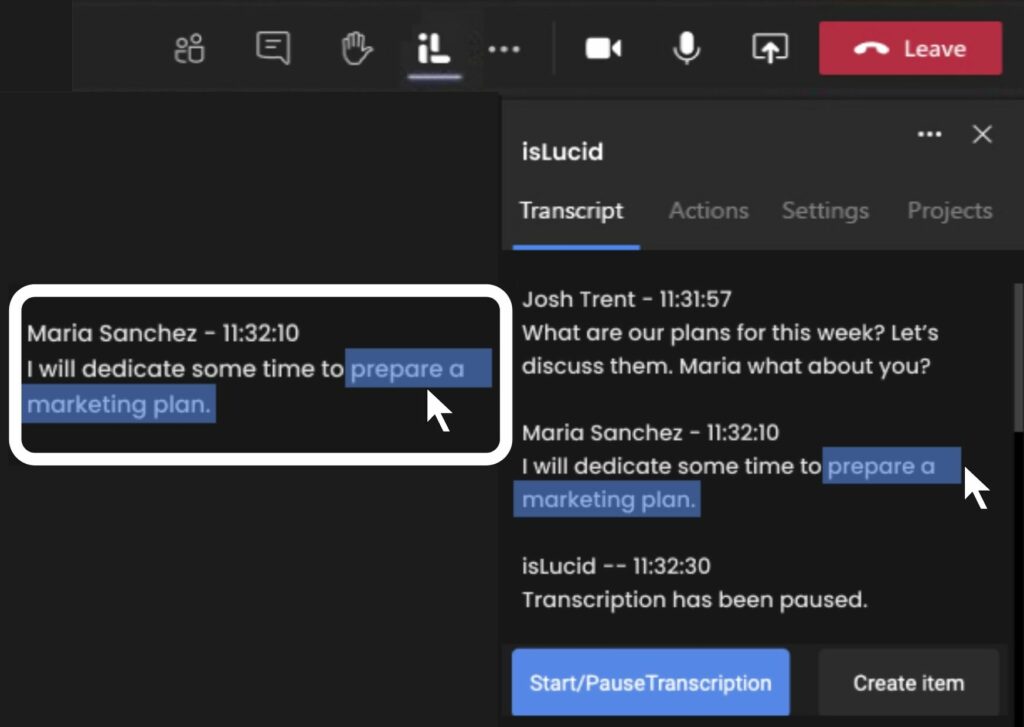
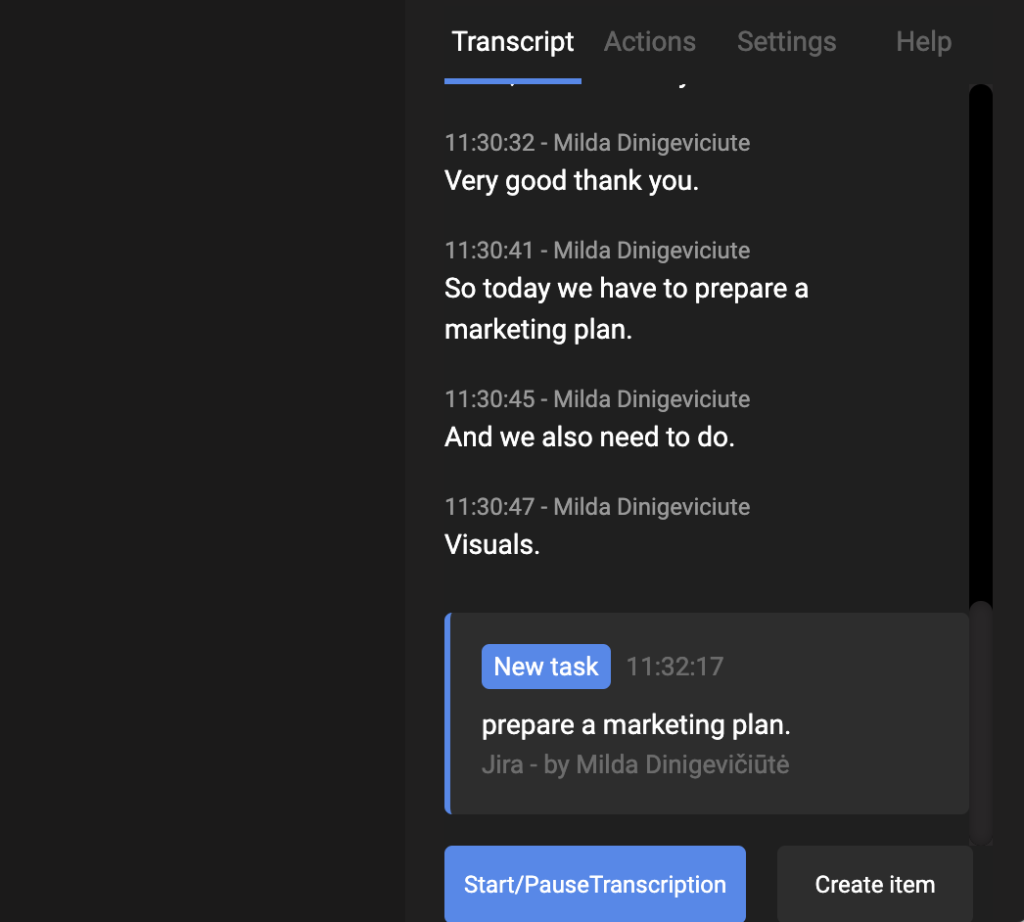
Select part which is Important
Highlight the part of the text that is relevant or hit on three dots indicating the menu on the right of transcription peace (dots are visible when hovering/clicking)
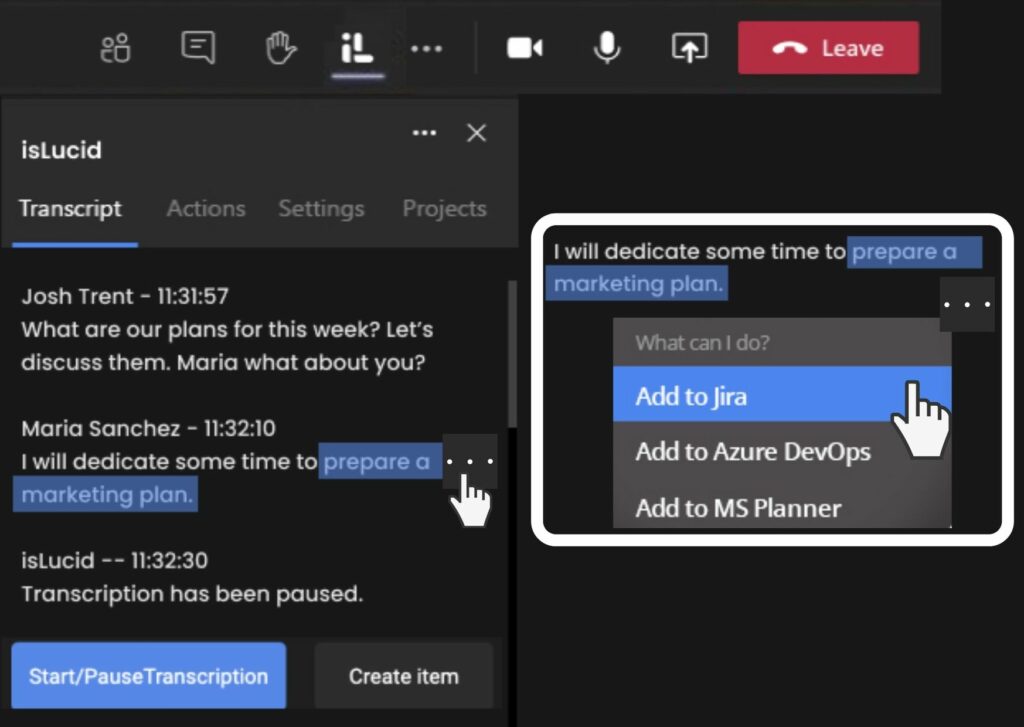
Select a Project management tool
Once pressed a menu will show up with options to choose in which project management tool to store an action item
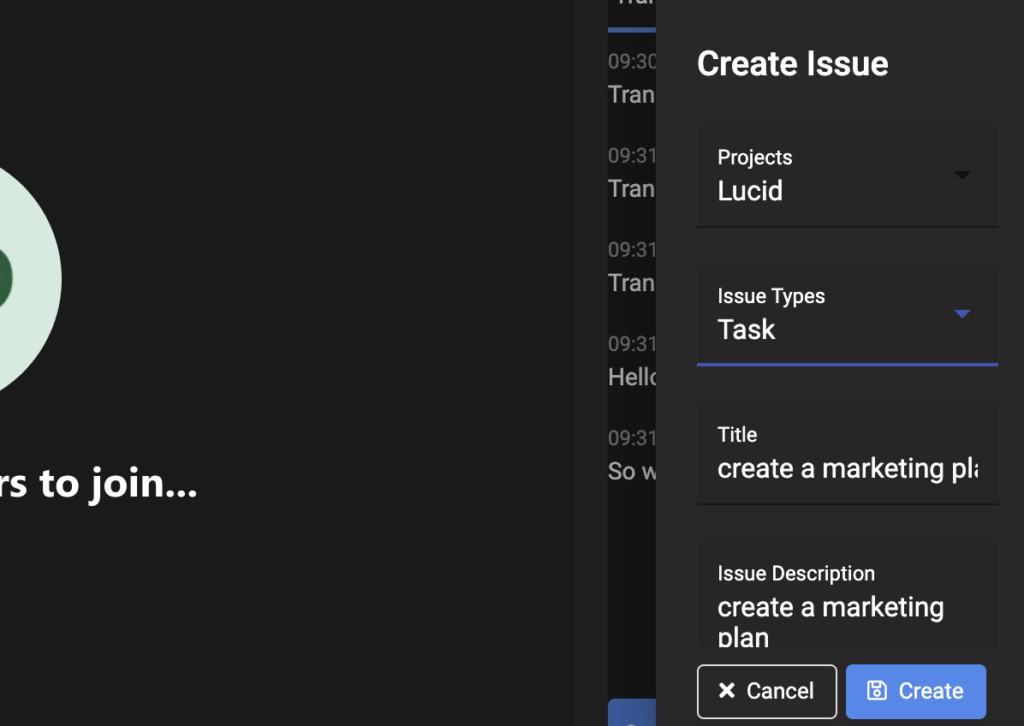
Choose which action item you are creating
In appeared modal select what kind of action item you are creating – a task for project management software or an entry for meeting minutes document
Be notified
All participants with active isLucid application will be notified of an action item created

Still have open questions? Ask away!