Zoom has the ability to record meetings. This feature is called local recording and is available for both free and premium accounts. How to enable these recordings? How to manage them later? These topics are covered in our blog post below.
How to enable recording on Zoom?
Participants can record the meeting’s video and audio directly to a computer using the local recording. Local recordings can feature timestamps, participant names, individual audio tracks for each participant, and other features. Local recordings record the meeting as the participant recording sees it, which, if the speaker view video layout is currently in use, means the recording will record the meeting in speaker view.
To record a Zoom meeting, follow these steps:
- Start the Zoom meeting as the host or co-host.
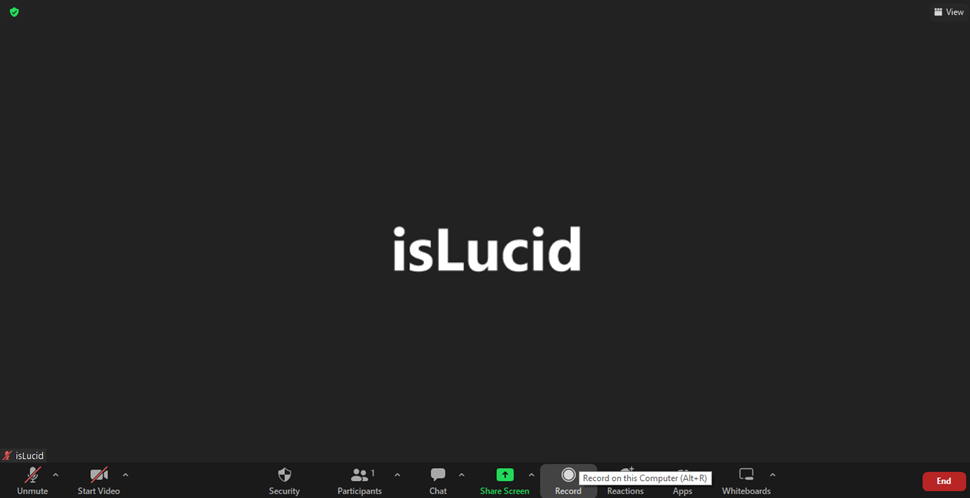
- Click on the “Record” button located in the bottom toolbar.
- Choose the recording location: your computer or the cloud
- Choose the recording format: audio, video, or both.
- Click on “Start Recording” to begin the recording.

When you’re ready to stop the recording, click on the “Stop Recording” button in the bottom toolbar.
After the meeting ends, the recording will be saved to your computer or the cloud (depending on your choice) in the format you selected.
Note that if you’re a participant in a Zoom meeting, you’ll need permission from the host to record the meeting. Also, some organizations may have restrictions on recording meetings, so it’s best to check with them beforehand.
How to start meeting transcription on Zoom?
The audio of a meeting or webinar that you record to the cloud is automatically transcribed using the audio transcription. When this transcript has been processed, it will show up in the list of meetings that have been recorded as a distinct VTT file. Additionally, you have the choice to close the captions on the movie and display the transcript text within it instead. You have the option to allow or disallow users to access the transcript when sharing a cloud recording. Each segment of the transcript has a timestamp that indicates when in the recording that particular section of the text was recorded. You can alter the text to better reflect the words used or add capitalization and punctuation that the transcript missed.
Start a cloud recording so that a transcript can be produced. You will be notified via email once the meeting is over that your cloud recording is ready. You also get a separate email a little while later informing you that the audio transcript for the recording is accessible. Links to access your recordings and transcript are included in these emails.
How to manage your Zoom recordings?
Recording can be difficult to manage. There are some ways to get the most out of your Zoom recording. One of them – is task management software. It usually needs transcription to gain the best advantages and improve your work.
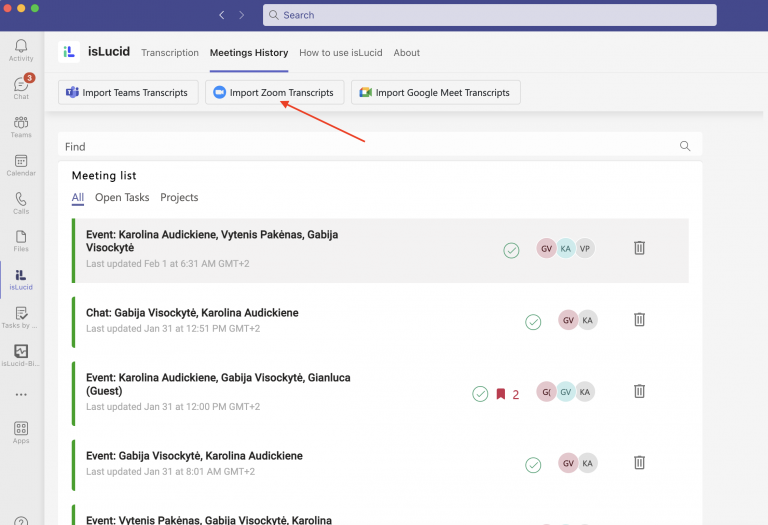
isLucid now has a solution for this type of problem. You can upload your Zoom transcripts to isLucid meeting management platform on Microsoft Teams.
Here is how to import your Zoom transcripts to isLucid step by step:
Step 1: Add isLucid application
First of all, you need to download isLucid. You can get it from Microsoft AppSource by following this link https://appsource.microsoft.com/en-us/product/office/isLucid. Or you can get it directly from Microsoft Teams here https://teams.microsoft.com/dl/launcher/islucid.
After downloading the application you need to set it up. Here are detailed instructions on how to do that https://islucid.com/one-click-install/.
Step 2: Launch Microsoft Teams
Once you have installed the application, open Microsoft Teams. You can use a desktop or web application.
Step 3: Open isLucid application
Go to apps or click on the three dots in the right side panel, type in “isLucid” and add it to your MS Teams side panel.
Step 4: Open isLucid application
Go to apps or click on the three dots in the right side panel, type in “isLucid” and add it to your MS Teams side panel.

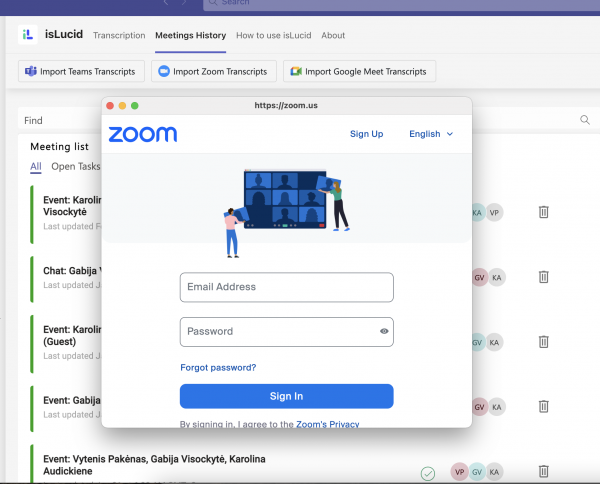
Step 5: Login to your Zoom account in the pop-up window
Login to your Zoom account to import your meeting transcripts.

isLucid for a better meeting management
isLucid bridges verbal information with task management software, allowing team members to focus on the discussion and have organized written information. This helps to make a better decision-making process and keep teams aligned. Information from conversations are being organized in seconds and stored in any chosen task management platform, CRM or ATS. All the meetings become searchable, sharable, and actionable. By using integrated OpenAI models, notes and tasks are paraphrased and ready to go.
Communication between team members can become clear because of actionable items such as tasks, bookmarks, or meeting minutes. You can also save important meeting information with isLucid and share it with anyone you like – new employee or the one who did not attend the meeting. This helps to save time on keeping in touch with all decisions made during the meeting. With isLucid, organize and access all of your meetings at any time – they are stored for an unlimited amount of time. You can go back to a meeting that happened a long time ago and organize it the way you like or share it with your colleagues.
If you are interested in isLucid digital meeting assistant, get it for MS Teams.
You can also book a demo and get a walkthrough: Book a Demo.

