Atlassian Jira authentification

If you want to see created tasks within the call (or after it) in Atlassian Jira, you need first to provide the right credentials so isLucid could sync tasks created in the Microsoft Teams meeting.
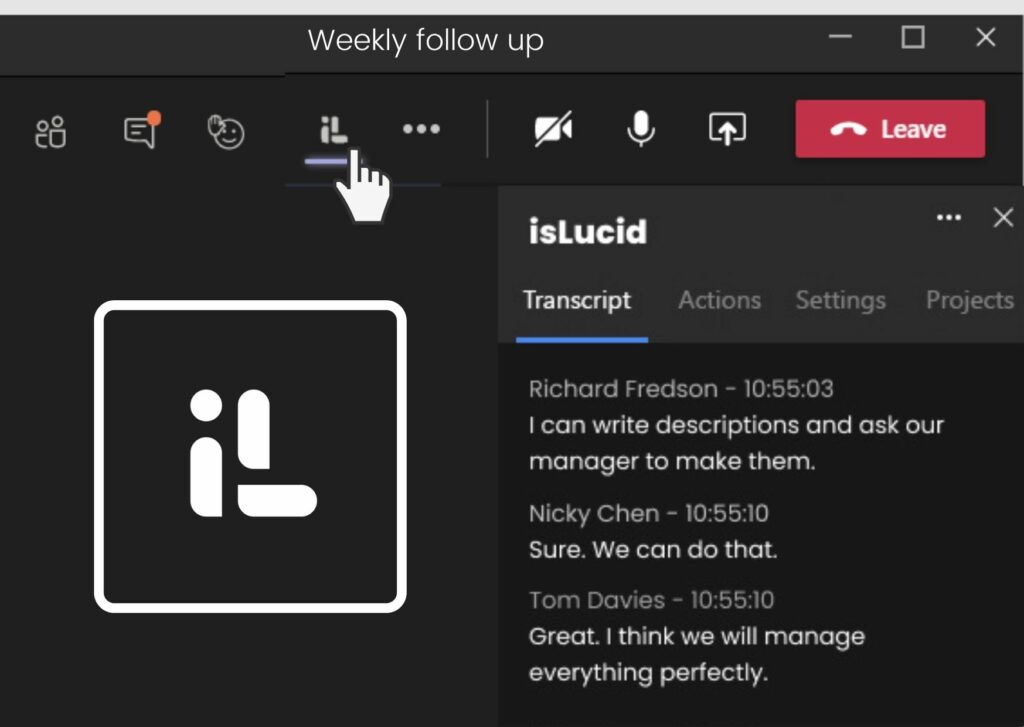
Open isLucid
Be in the call and open isLucid application
(in the side panel or full isLucid application) or
alternatively, navigate to any past meeting transcript

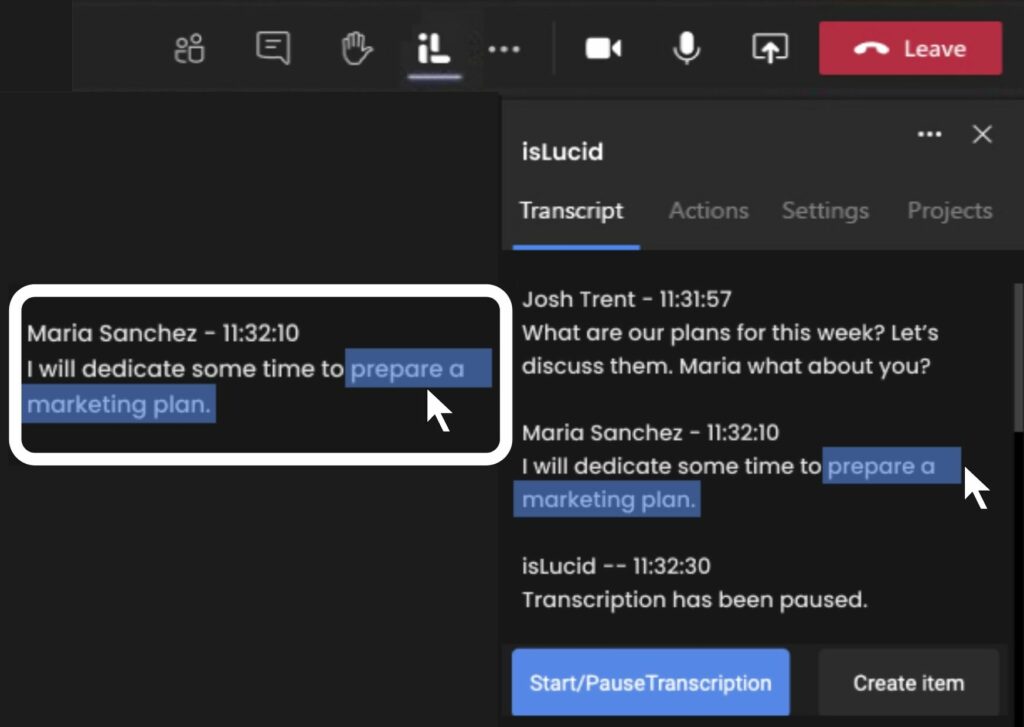
Select Action Item
Identify any action item by selecting it
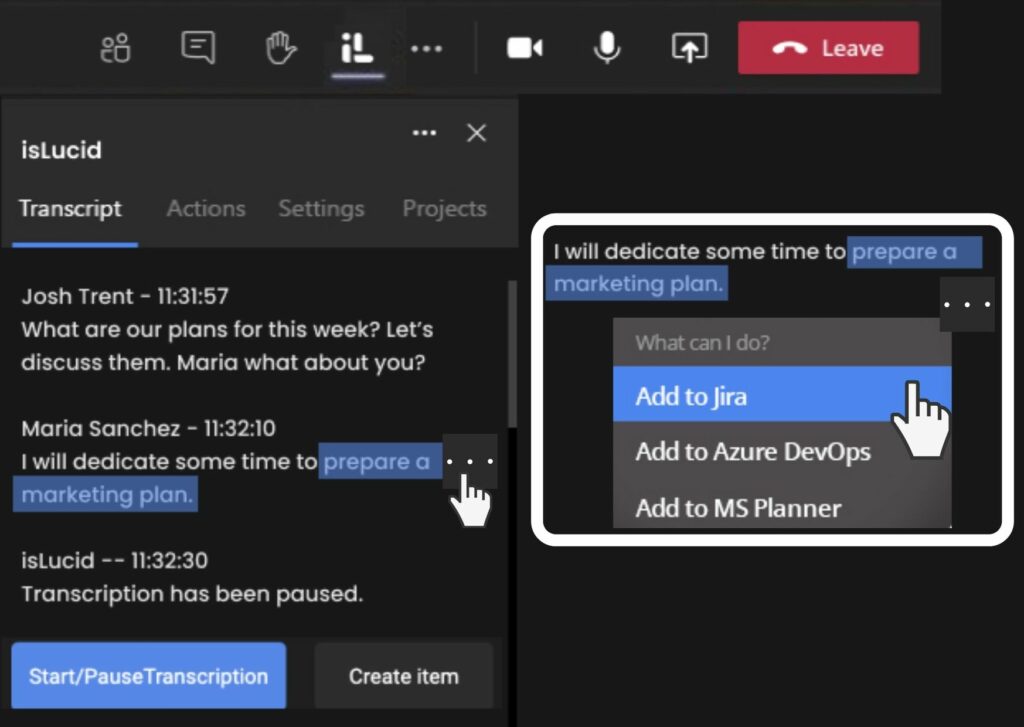
or using the contextual menu visible on
hover to see a contextual menu

Add to Jira
Click on the “Add to Jira” action button
and a pop up will appear

Provide Credentials
Provide the credentials you use to access Atlassian Products
and give consent for isLucid to access existing projects
and create tasks. If you have multiple organizations,
you can limit isLucid to only a specific organization.

Still have open questions? Ask away!


