Authenticate with Microsoft Planner
Documentation of isLucid is made to support you. Any new thing can be confusing. What is natural for us, does not necessary is understandable for everybody else in the world. So we encourage you to ask for help, clarifications and assistance if anything is unclear
On this page, you will find quick walk-through information helping you to authenticate Microsoft Planner to isLucid. During this process you will:
- Taking necessary actions to authenticate to Microsoft Planner

Microsoft Planner authentification

If you want to see created tasks within the call (or after it) in Microsoft Planner, you just need to create a task and will automatically be transferred to Planner.
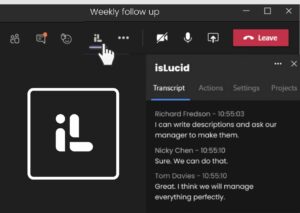
Open isLucid
Be in the call and open the isLucid application
(in the side panel or full isLucid application) or
alternatively, navigate to any past meeting transcript
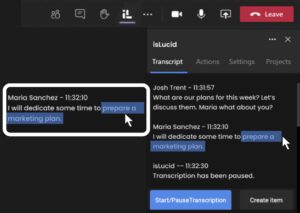
Select Action Item
Identify any action item by selecting it
or using the contextual menu visible on
hover to see a contextual menu
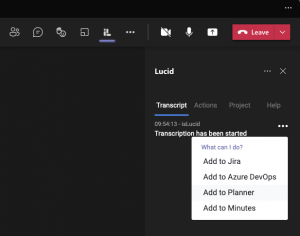
Add to Planner
Click on the “Add to Planner” action button
and a pop up will appear
No set-up is required for this Project management tool

Still have open questions? Ask away!