Share:
Marking opportunities
Learn how to mark opportunities.
![](https://islucid.com/wp-content/uploads/2020/10/Group-19.png)
Start your meeting
Once the meeting has started open the isLucid application (press on add an app in the top right and then press the isLucid icon).
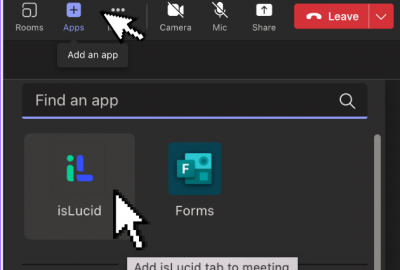
![Screenshot 2023-01-18 at 15.42.27 Adding isLucid to meeting](https://islucid.com/wp-content/uploads/2023/01/Screenshot-2023-01-18-at-15.42.27-400x270.png)
Navigate to transcript
Click on the opportunity tab to the see the transcript.
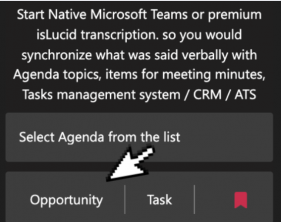
![Screenshot 2023-01-19 at 17.21.27 Creating opportunities](https://islucid.com/wp-content/uploads/2023/01/Screenshot-2023-01-19-at-17.21.27-e1674142480694.png)
Mark opportunity
Press on the circle to select needed sentence. You can select multiple. After that, press save button.
![Opportunity marking in meeting for future reference Mark opportunity that derives from meetings](https://islucid.com/wp-content/uploads/2023/01/Screenshot-2023-01-19-at-17.15.25-580x320.png)
See created item
Press on a tasks tab to see created opportunity. It appears as a meeting minute.
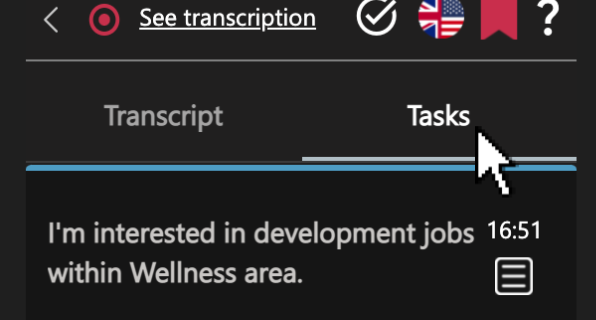
![Screenshot 2023-01-19 at 17.00.16 Created opportunity as a meeting minute](https://islucid.com/wp-content/uploads/2023/01/Screenshot-2023-01-19-at-17.00.16-596x320.png)
![](https://islucid.com/wp-content/uploads/2020/10/Group-3673.png)
Still have open questions? Ask away!
![](https://islucid.com/wp-content/uploads/2020/10/Group-19.png)
Get isLucid for MS Teams and try it out for free : isLucid Download Page
Or book a demo to get a walkthrough : Book a demo